If your audio files were recorded onto a CD to be played on a standard CD player, use this method.
Step 1: Choose your digital audio format and file save settings
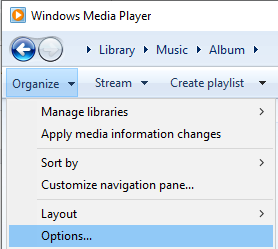
- Launch the Windows Media Player program. Click the Organize button in the top-left corner, choose Options.
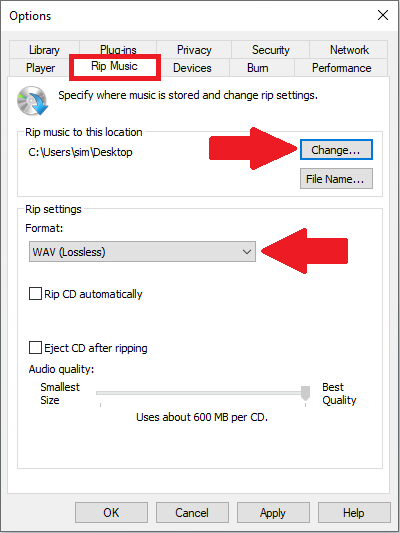
- Click the Rip Music tab. Under Rip music to this location you may select your storage device (USB or external hard drive) by clicking Change. Otherwise, files will save in the Patron Files folder on the desktop by default.
- Choose WAV from the Format drop-down menu. WAV is an archivist-recommended lossless audio format.
- If you are concerned about storage space, you may save your files in MP3 format. Adjust Audio quality according to your preference. Use 256 or even 320 kbps for better sound.
Step 2: Rip your audio files
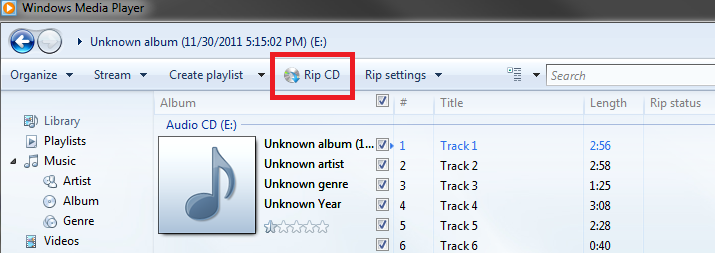
- Push the button on the side of your computer’s disc drive to make the tray eject, and insert an audio CD. Click on the Rip CD button in Windows Media Player.
- Windows Media Player connects to the internet and attempts to identify your CD, and fills in the album’s name, artist, and song titles, if available. Then the program begins copying the CD’s songs to your selected destination and lists their titles in the Windows Media Player Library.
- If Windows Media Player can’t find the songs’ titles automatically, move ahead to Step 3.
Step 3: Add metadata to your audio files
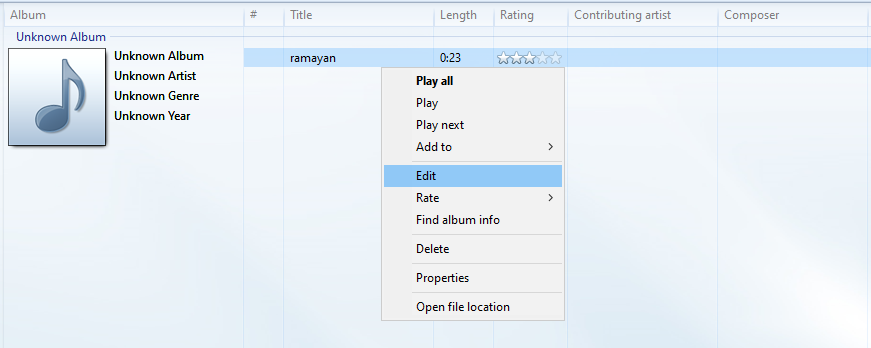
- Right-click on a song title, click Edit, and manually fill in the track information. Repeat for the other fields, such as the album, artist, genre, and year tags for each track.
Additional tips for ripping CDs to your computer:
- Normally Windows Media Player copies every song on the CD. To leave certain tracks out of your music compilation, remove the check mark next to the track name. If Windows Media Player has already copied the song to your PC, feel free to delete it from within Windows Media Player. Click the Library button, right-click the song in question, and choose Delete.