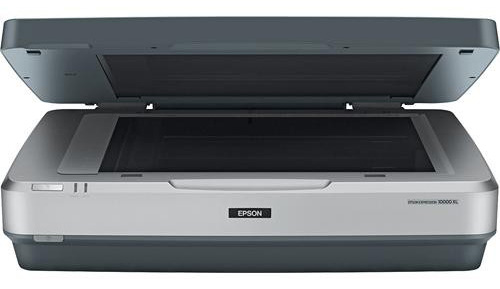
Step 1: Prepare scanner
- Put on gloves. This way you won't leave prints on your photographs and scanner.
- Gently lift the scanner's lid.
- Clean the scanner's surface with an anti static cloth and air puffer.
Step 2: Prepare documents
- Clean papers gently with anti static cloth and air puffer.
- Place document face-down on scanning bed.
Note: When scanning newspaper, place black card stock behind page to prevent bleed-through. - Be careful not to scratch the scanning bed.
- Close scanning bed lid.
Step 3: Open Epson Scan 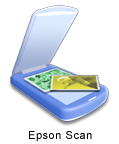
- Make sure that the scanner is powered on and is connected to the computer by USB.
- Connect your external hard drive or USB to the computer.
- Open the Epson Scan icon located on the desktop.
Note: If the icon is not there, search for "Epson Scan" and double click the icon that pops up
Step 4: Settings and Preview
- Make sure you are in Professional Mode. This gives you total control of your scanning settings and lets you preview your images.
- Set the Document Type to Reflective
- Set the Auto Exposure Type to Document
- You can decide the other settings if you want. If you're not sure, we recommend the following:
- Image type: 24-bit color
- Resolution: at least 300 for photos

Step 5: Preview
- Click the Preview button at the bottom of the settings window.
- Use the Marquee tool to select the area you want to scan. You can select mutliple areas by pressing the Ctrl key simultaneously.

Step 6: Scan
- When you click scan, the file save settings will pop up.
- Create a file naming convention (something simple like event and year) and start with 001.
- Choose PDF under IMAGE FORMAT.
- Click OK.

Step 7: You are done.
- Clean scanning bed with anti-static wipes.
- Make sure scanner is powered off and closed.
- Make sure your files are saved on your USB.
- Do not forget to eject your USB or hard drive and take your documents.