If your video files were recorded onto a DVD to be played on a standard DVD player, use this method.
- Open HandBrake. Double click the program icon on the desktop.
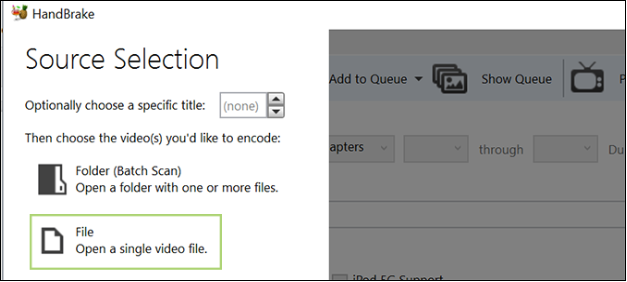
- Choose the file you want to rip by pressing the file icon on the left upon startup. If this is a DVD or other piece of physical media, you’ll select the DVD drive, and its contents.
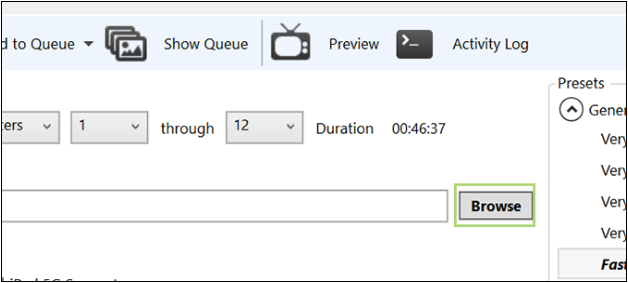
- Press the Browse button and choose the destination to save the stored file, such as the desktop, or your external hard drive.
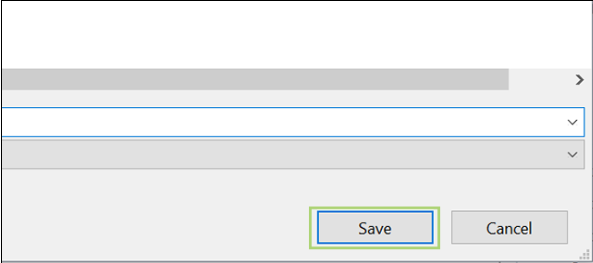
- Give your file a descriptive name. Click Save after making your selection.
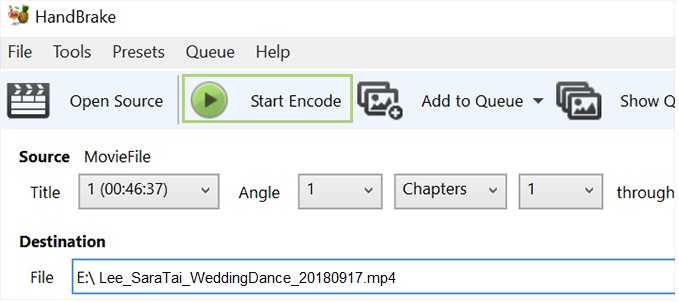
- Press Start Encode at the top to begin ripping the DVD.
- Describe using Adobe Bridge.
- Don't let all this hard work go to waste. Adding metadata to your home movie will ensure that you have it for years to come.
- Double click on the Adobe Bridge icon on the desktop.
- Select your file and view the information in the Metadata panel.
- Choose File > File Info. Then, select any of the categories listed at the top of the dialog box. Use the left and right arrows to scroll categories, or click the down arrow and select a category from the list.
- Choose View > As Details to display the metadata next to the thumbnails in the Content panel.
- Click the Pencil icon to the far right of the metadata field you want to edit.
- Type in the box to edit or add metadata.
- Press Tab to move through metadata fields.
- When you have finished editing the metadata, click the Apply button at the bottom of the Metadata panel. To cancel any changes you’ve made, click the Cancel button at the bottom of the panel.
- See more information from Adobe.


